Understanding staggerChildren in Framer Motion
Hemanta Sundaray
Published August 14, 2023
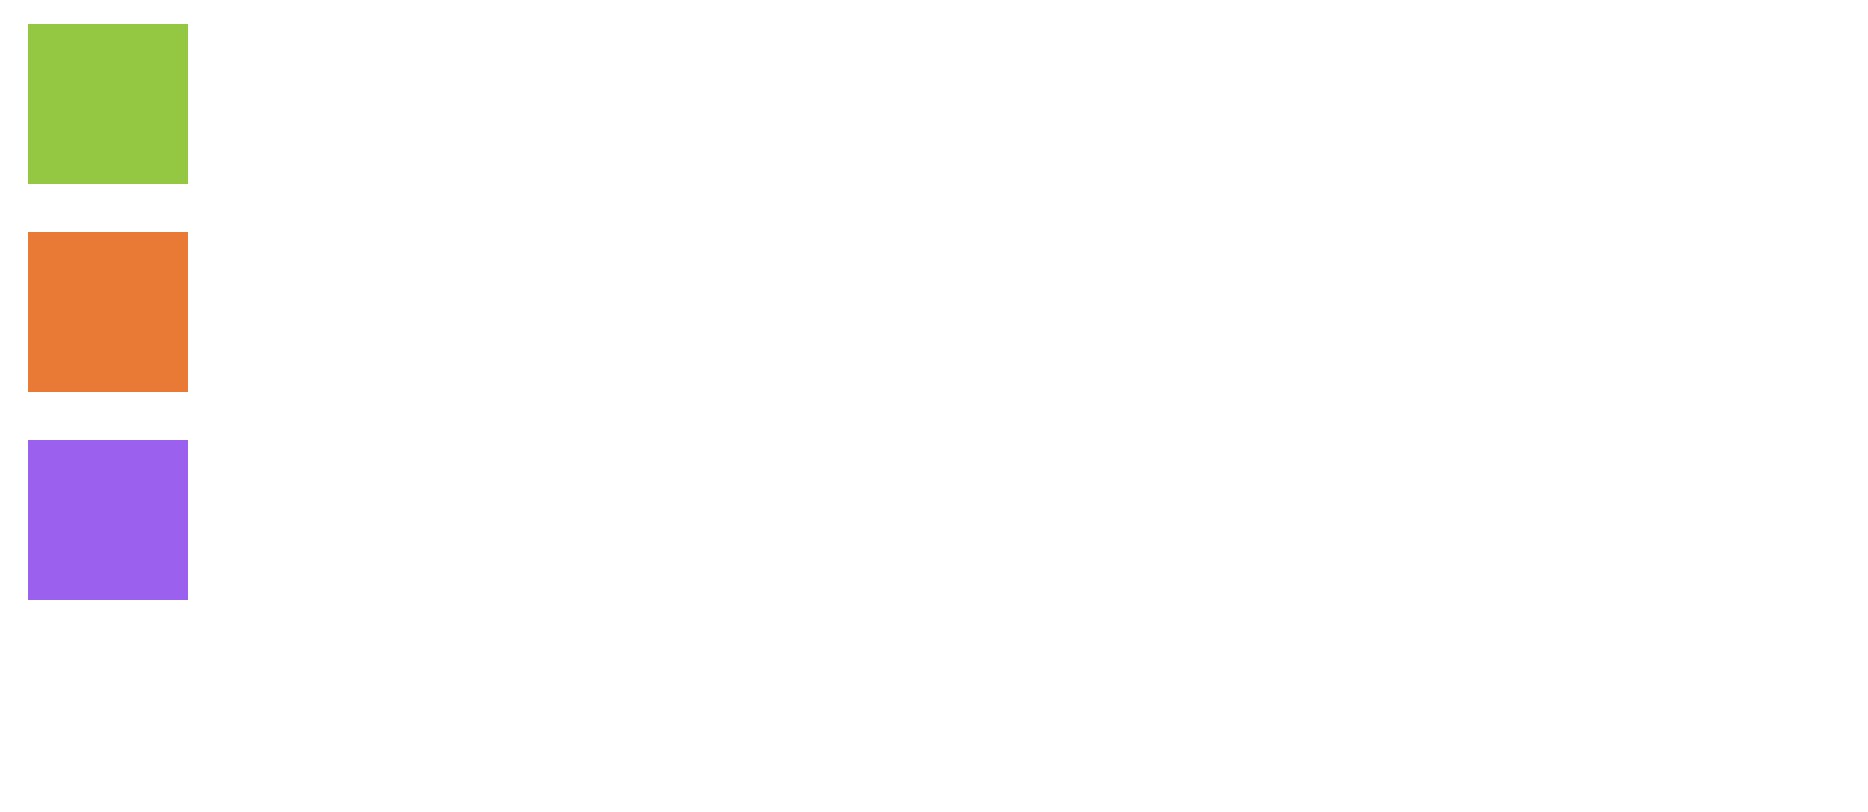
Below, we have three squares:
Here’s the code:
import React from "react";
import { motion } from "framer-motion";

const FramerMotionDemo = () => {
  return (
    <div className="m-4">
      <motion.div className="mb-6 h-20 w-20 bg-lime-500"></motion.div>
      <motion.div className="mb-6 h-20 w-20 bg-orange-500"></motion.div>
      <motion.div className="h-20 w-20 bg-purple-500"></motion.div>
    </div>
  );
};

export default FramerMotionDemo;
As you can see, we have a parent div element, and within it, we have three child div elements (the squares).
Let’s say we want to animate these squares to move from left to right by 5rem. But we don't want them to move all at once; we want them to animate one after another with some time delay between them. In other words, we want to create a staggered animation.
We can achieve this by animating each child element individually with a delay between each animation.
Animating Child Elements Manually
In the code below, we’ve used the animate prop to animate the x property to move by 5rem in the x-axis from left to right. And we’ve used the transition prop to define the delay between the animation of each child element.
The first child has a delay value of 0 seconds, while the second child has a delay value of 0.2 seconds, and the third child has a delay value of 0.4 seconds. This means that each child element will start animating 0.2 seconds after the previous child element has finished animating. This creates a staggered effect.
import React from "react";
import { motion } from "framer-motion";

const FramerMotionDemo = () => {
  return (
    <div className="m-4">
      <motion.div
        animate={{ x: "5rem" }}
        transition={{ delay: 0 }}
        className="mb-6 h-20 w-20 bg-lime-500"
      ></motion.div>
      <motion.div
        animate={{ x: "5rem" }}
        transition={{ delay: 0.2 }}
        className="mb-6 h-20 w-20 bg-orange-500"
      ></motion.div>
      <motion.div
        animate={{ x: "5rem" }}
        transition={{ delay: 0.4 }}
        className="h-20 w-20 bg-purple-500"
      ></motion.div>
    </div>
  );
};

export default FramerMotionDemo;
The animation works as expected. However, this approach can quickly become inefficient and difficult to manage as the number of child elements increases.
Imagine you have one hundred child elements, and you’ve set the animation delay between each to 0.2 seconds. Now, let's say you want to change the delay to 0.4 seconds. Guess what? You'll have to manually update the delay values for each of those 100 elements. Doesn't sound like a lot of fun, does it? This is where staggerChildren comes to the rescue.
What is staggerChildren?
In Framer Motion, staggerChildren is a feature that allows you to create staggered animations for child elements within a parent element. It's available as a property within the transition prop, which defines animation properties for an element.
Now that you have a basic understanding of what staggerChildren is, let's recreate the staggered animation we created in the previous section using staggerChildren.
Animating Child Elements Using staggerChildren
First, let’s create a variant:
const demoVariants = {
  animate: {
    x: "5rem",
    transition: {
      staggerChildren: 0.2,
    },
  },
};
With variants, we no longer have to apply animate prop on each child element anymore. Additionally, when we use variants, we get access to extra transition properties including staggerChildren.
After defining the demoVariants object, we pass it to the parent motion.div element as well as the child motion.div elements, as shown below. Framer motion will automatically animate the child elements with the specified staggered animation.
import React from "react";
import { motion } from "framer-motion";

const demoVariants = {
  animate: {
    x: "5rem",
    transition: {
      staggerChildren: 0.2,
    },
  },
};

const FramerMotionDemo = () => {
  return (
    <motion.div className="m-4" variants={demoVariants} animate="animate">
      <motion.div
        variants={demoVariants}
        className="mb-6 h-20 w-20 bg-lime-500"
      ></motion.div>
      <motion.div
        variants={demoVariants}
        className="mb-6 h-20 w-20 bg-orange-500"
      ></motion.div>
      <motion.div
        variants={demoVariants}
        className="h-20 w-20 bg-purple-500"
      ></motion.div>
    </motion.div>
  );
};

export default FramerMotionDemo;
In the code snippet above, notice that we have applied the animate prop only to the parent motion.div element, not the children motion.div elements. This means that the animation behavior specified in the demoVariants object will be applied to all the child motion.div elements automatically. So, think of it like this: the parent element sets the animation rules, and the child elements follow along.
Now, with the demoVariants object, we have a central location to modify different animation properties and values. For instance, to adjust the animation delay, you simply need to update the staggerChildren value once, and Framer Motion will handle the rest.
I hope you now have a solid grasp of what staggerChildren is and how it works.